
If you are a photographer, your website is more than just an online presence — it’s your portfolio, your digital studio, and the first impression for your potential clients. Luckily, you don’t need to start from scratch. There are many ready-to-use photography website templates that make it simple to create a beautiful site without touching code.
In this article, we’ll go through some of the best free and premium options available today. Let’s dive in.
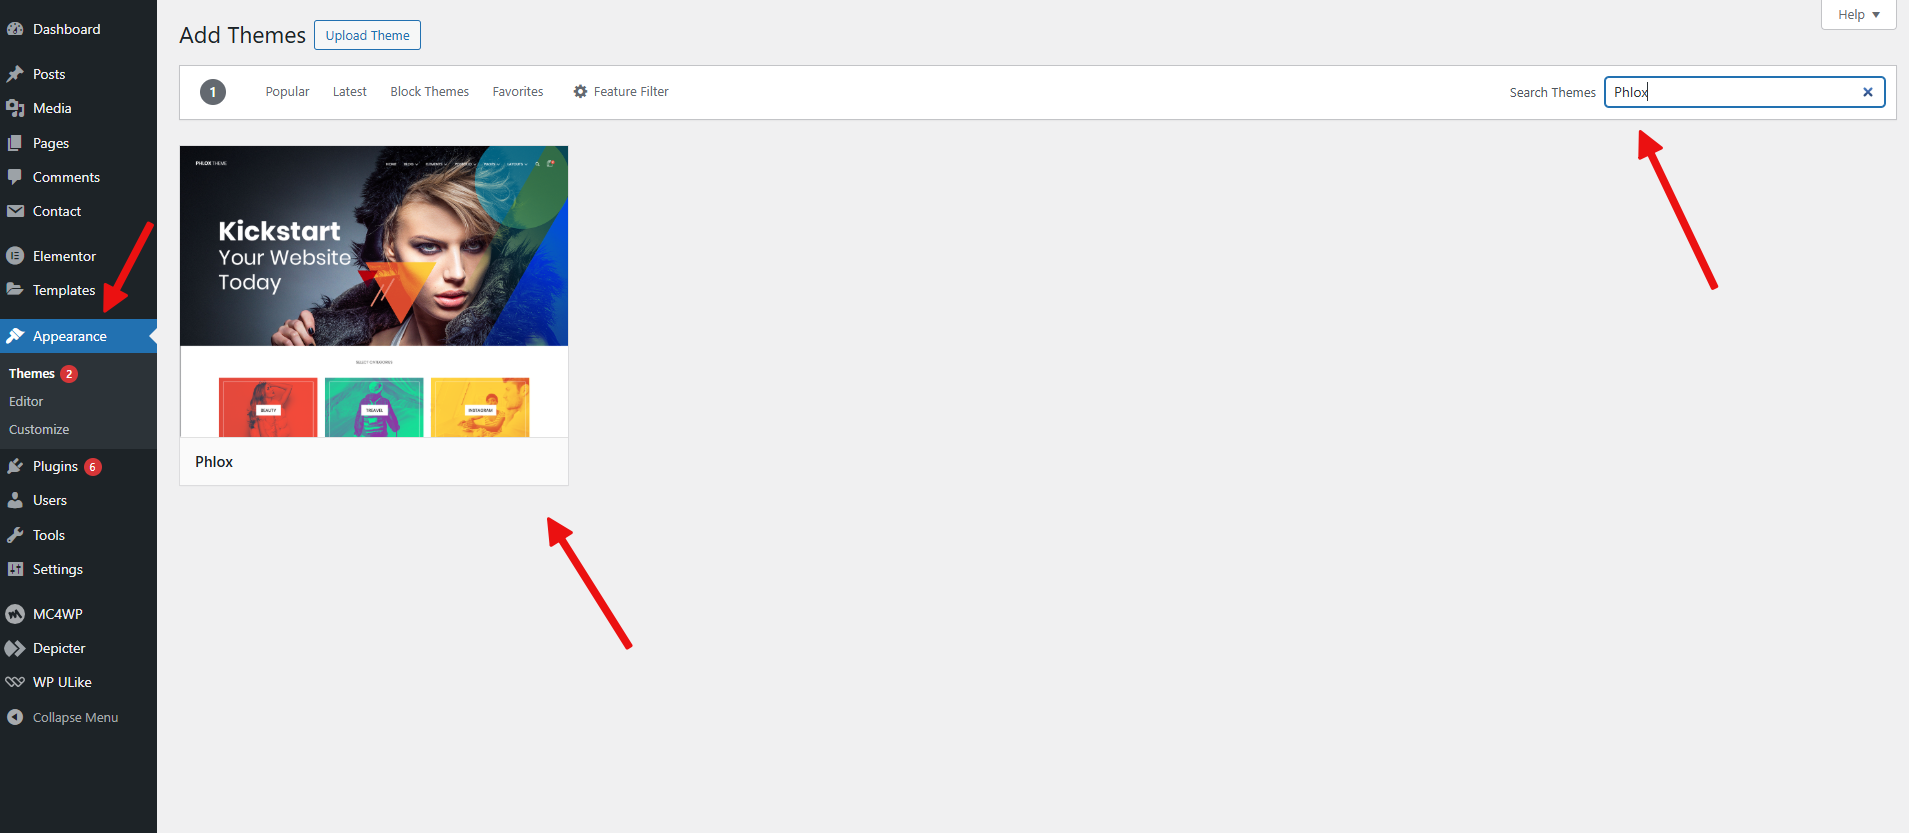
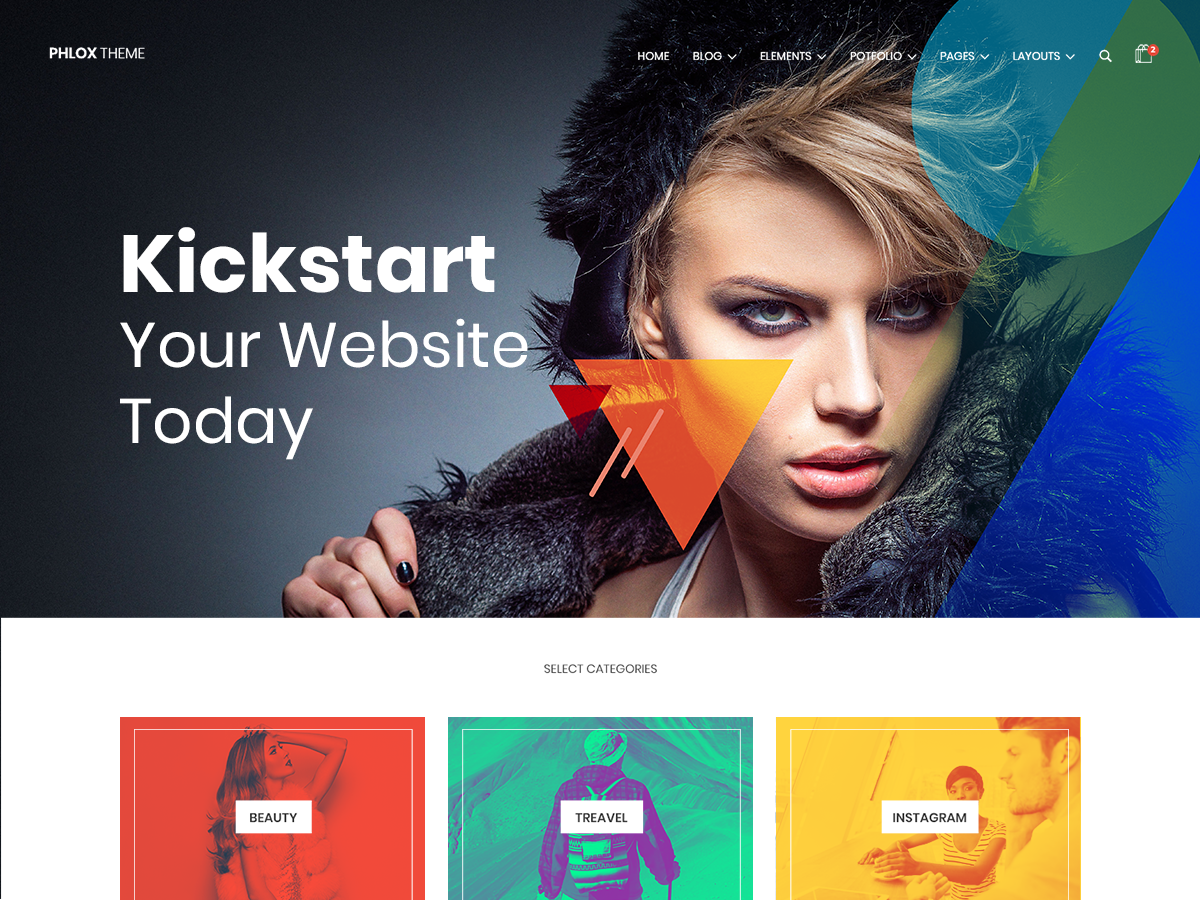
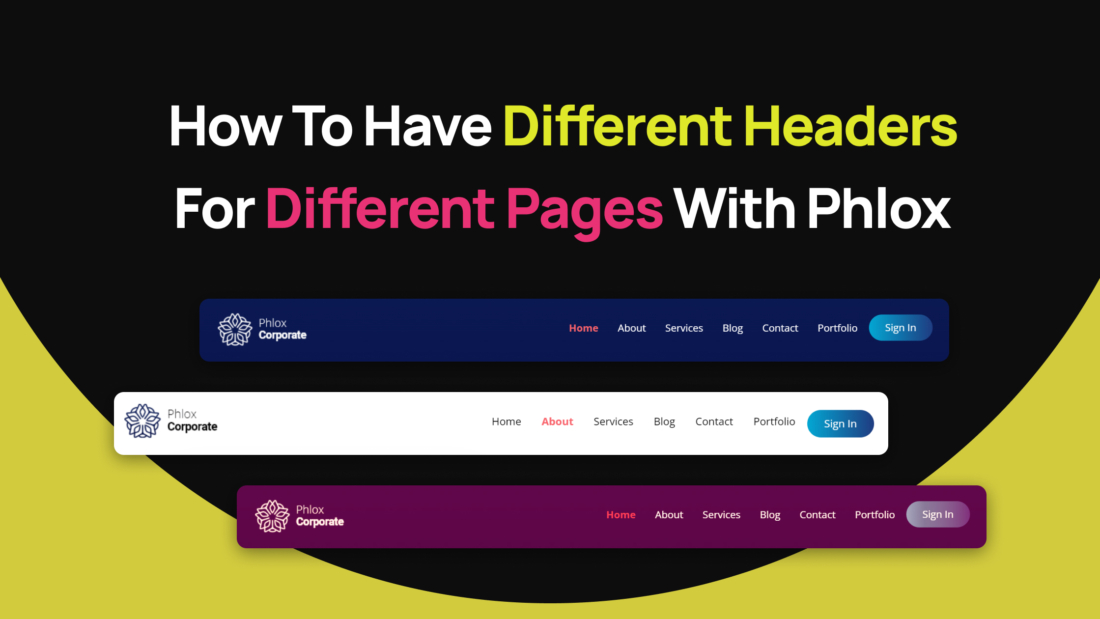
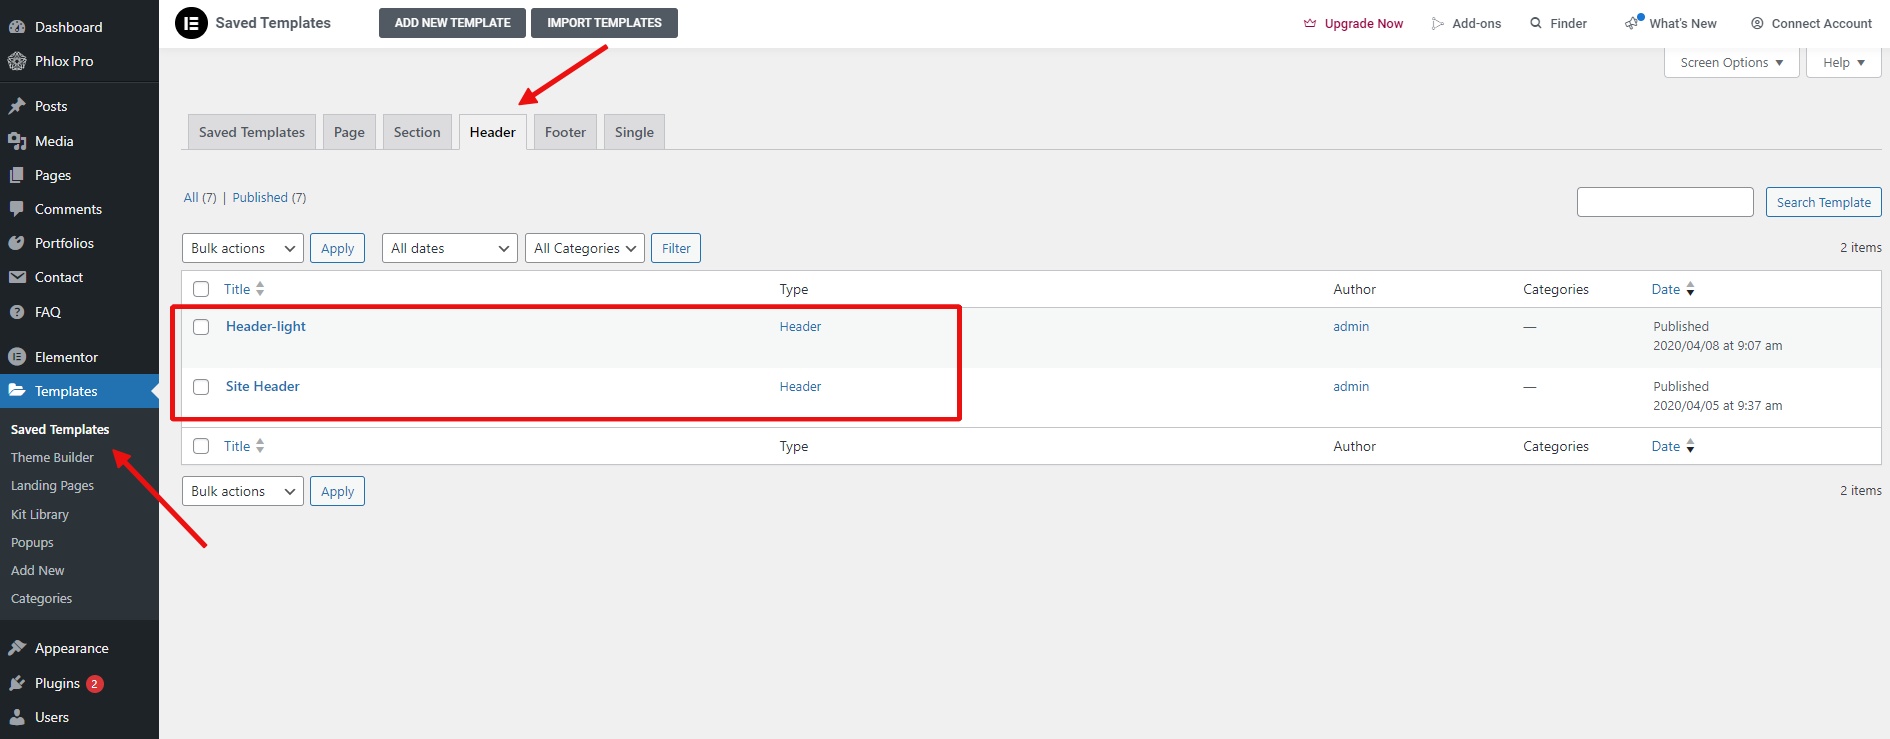
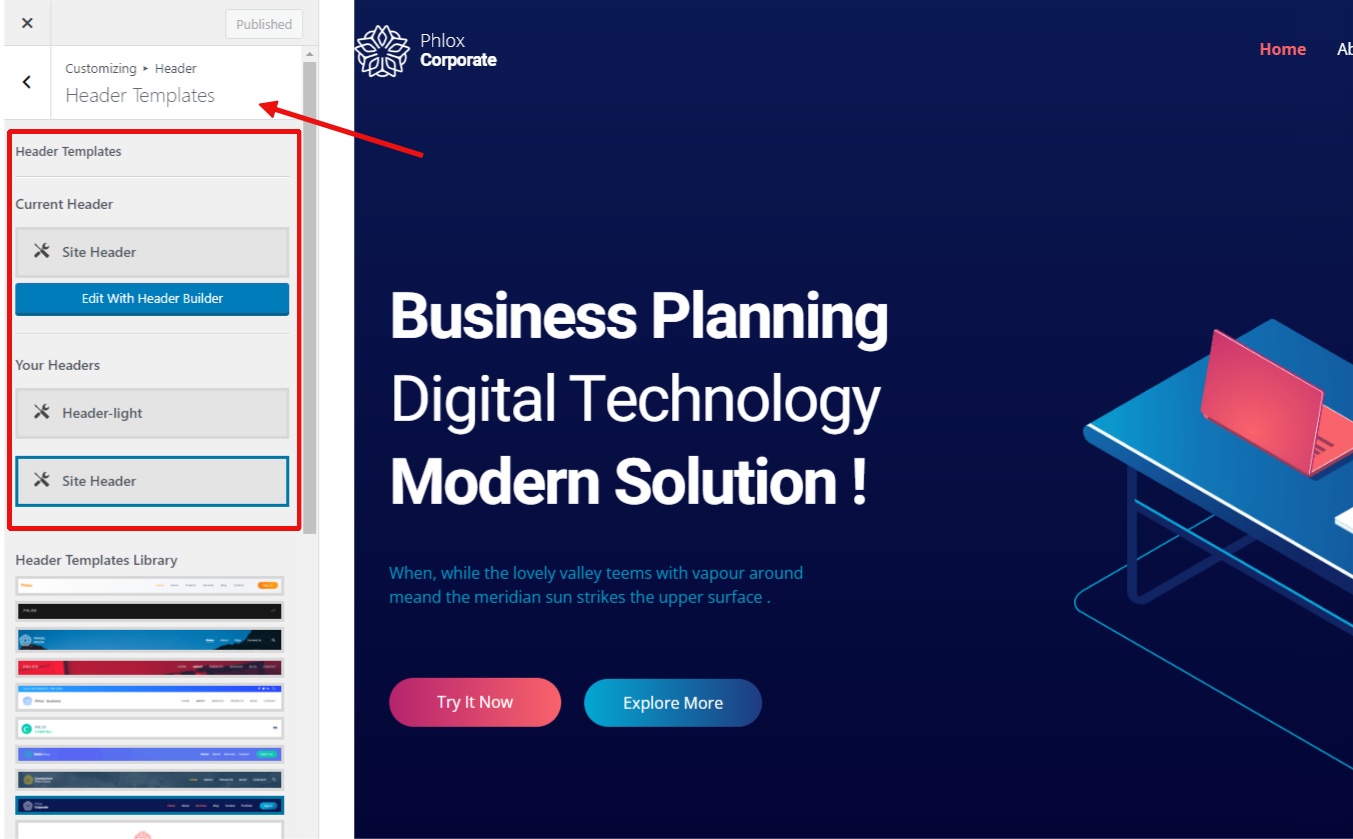
Phlox Theme
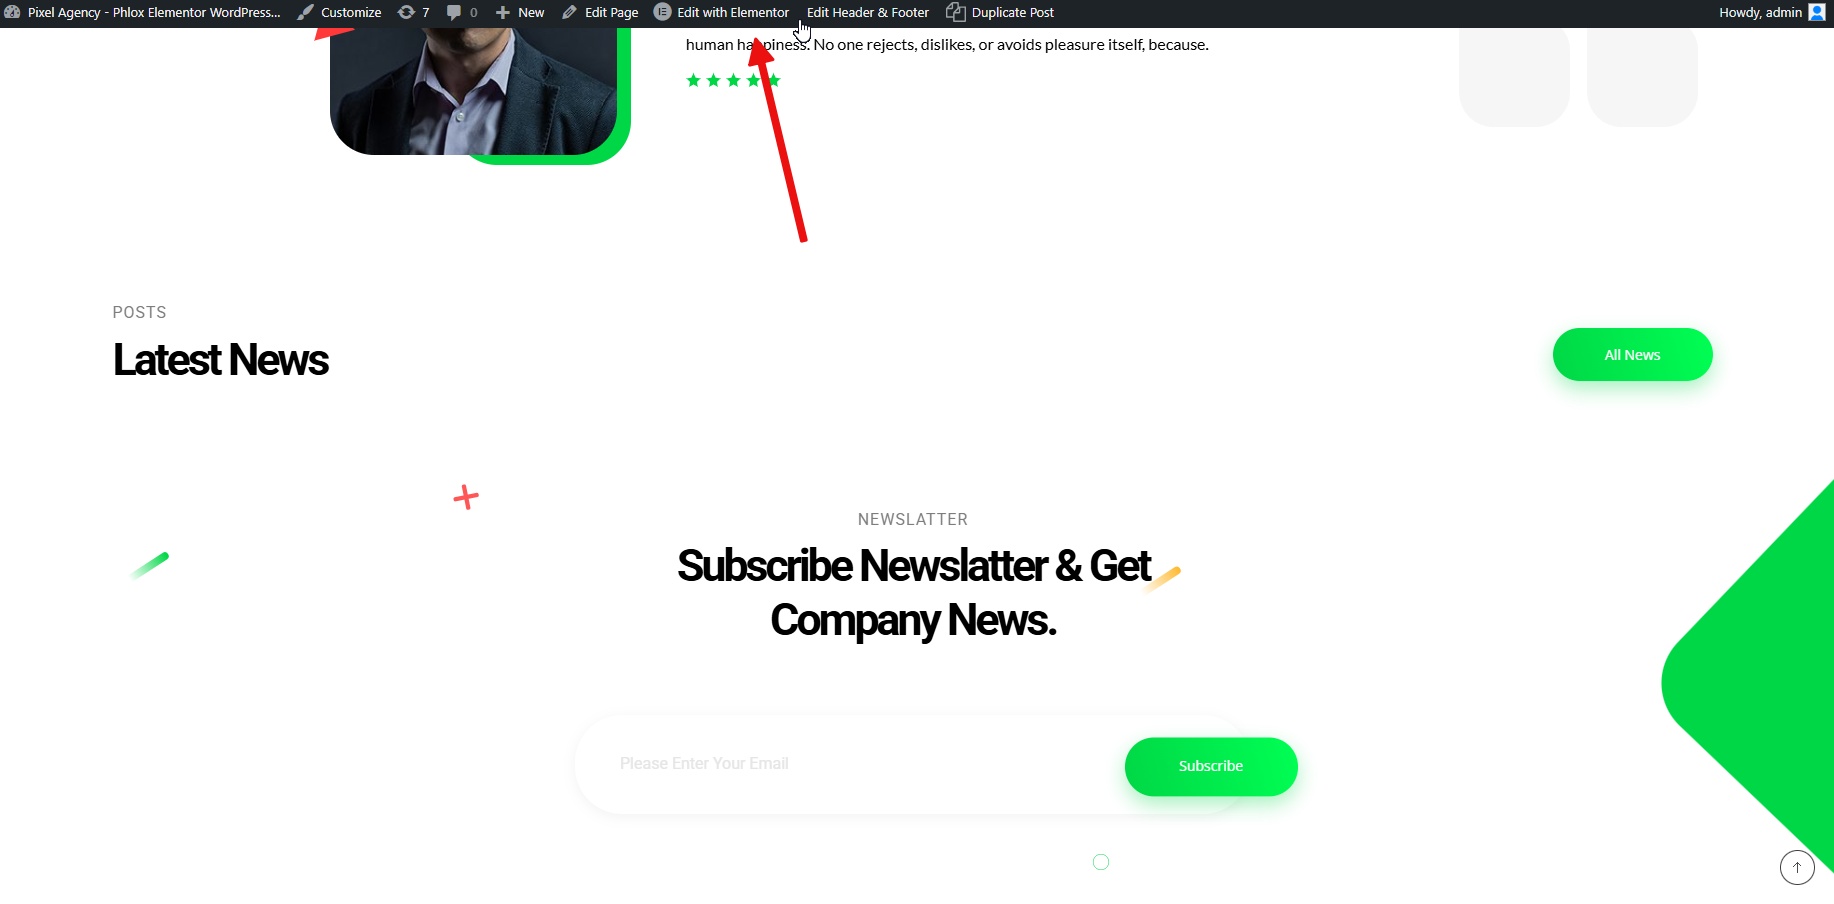
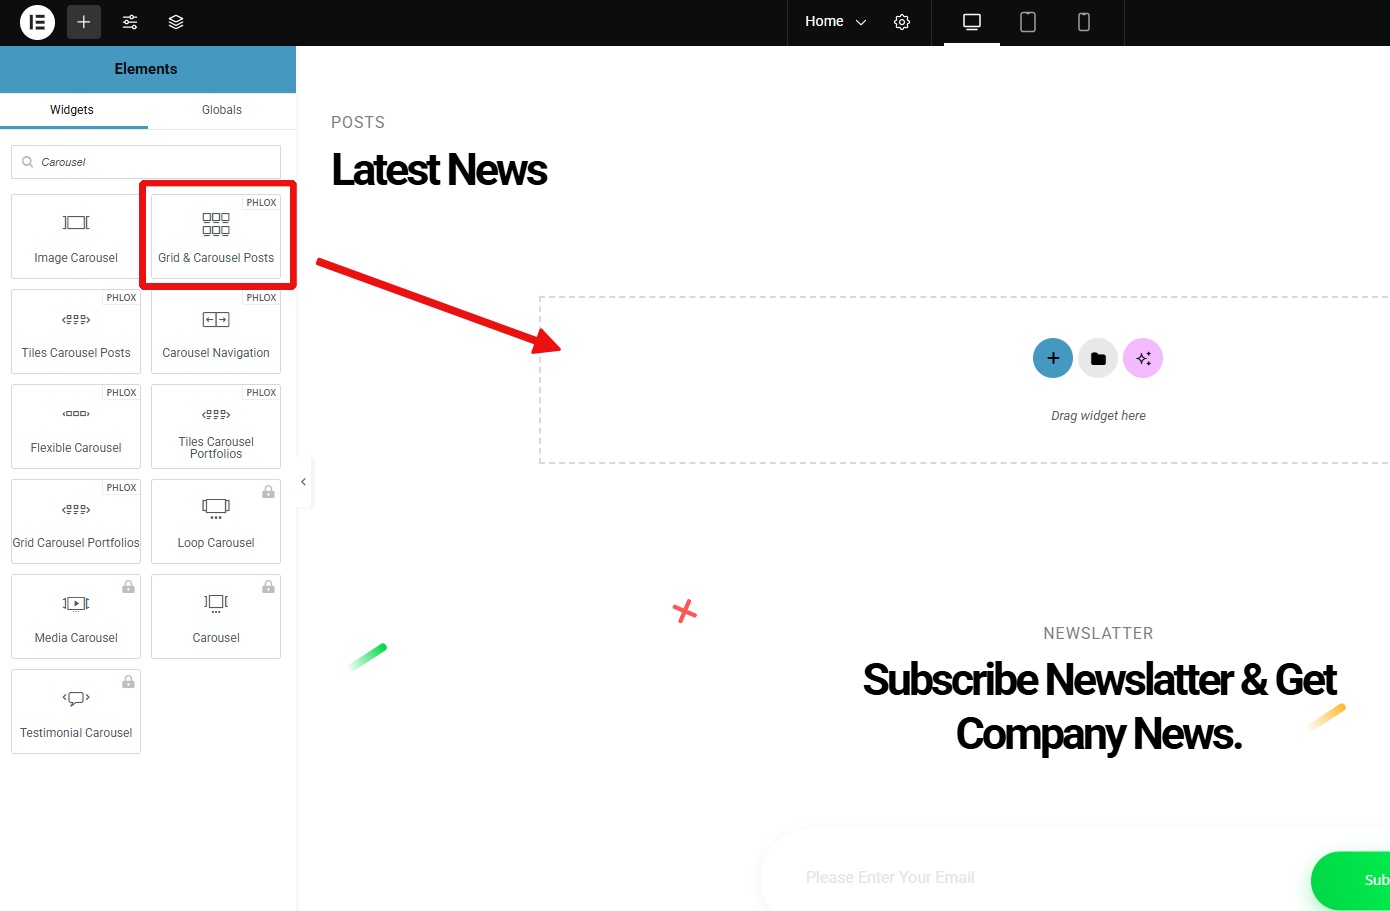
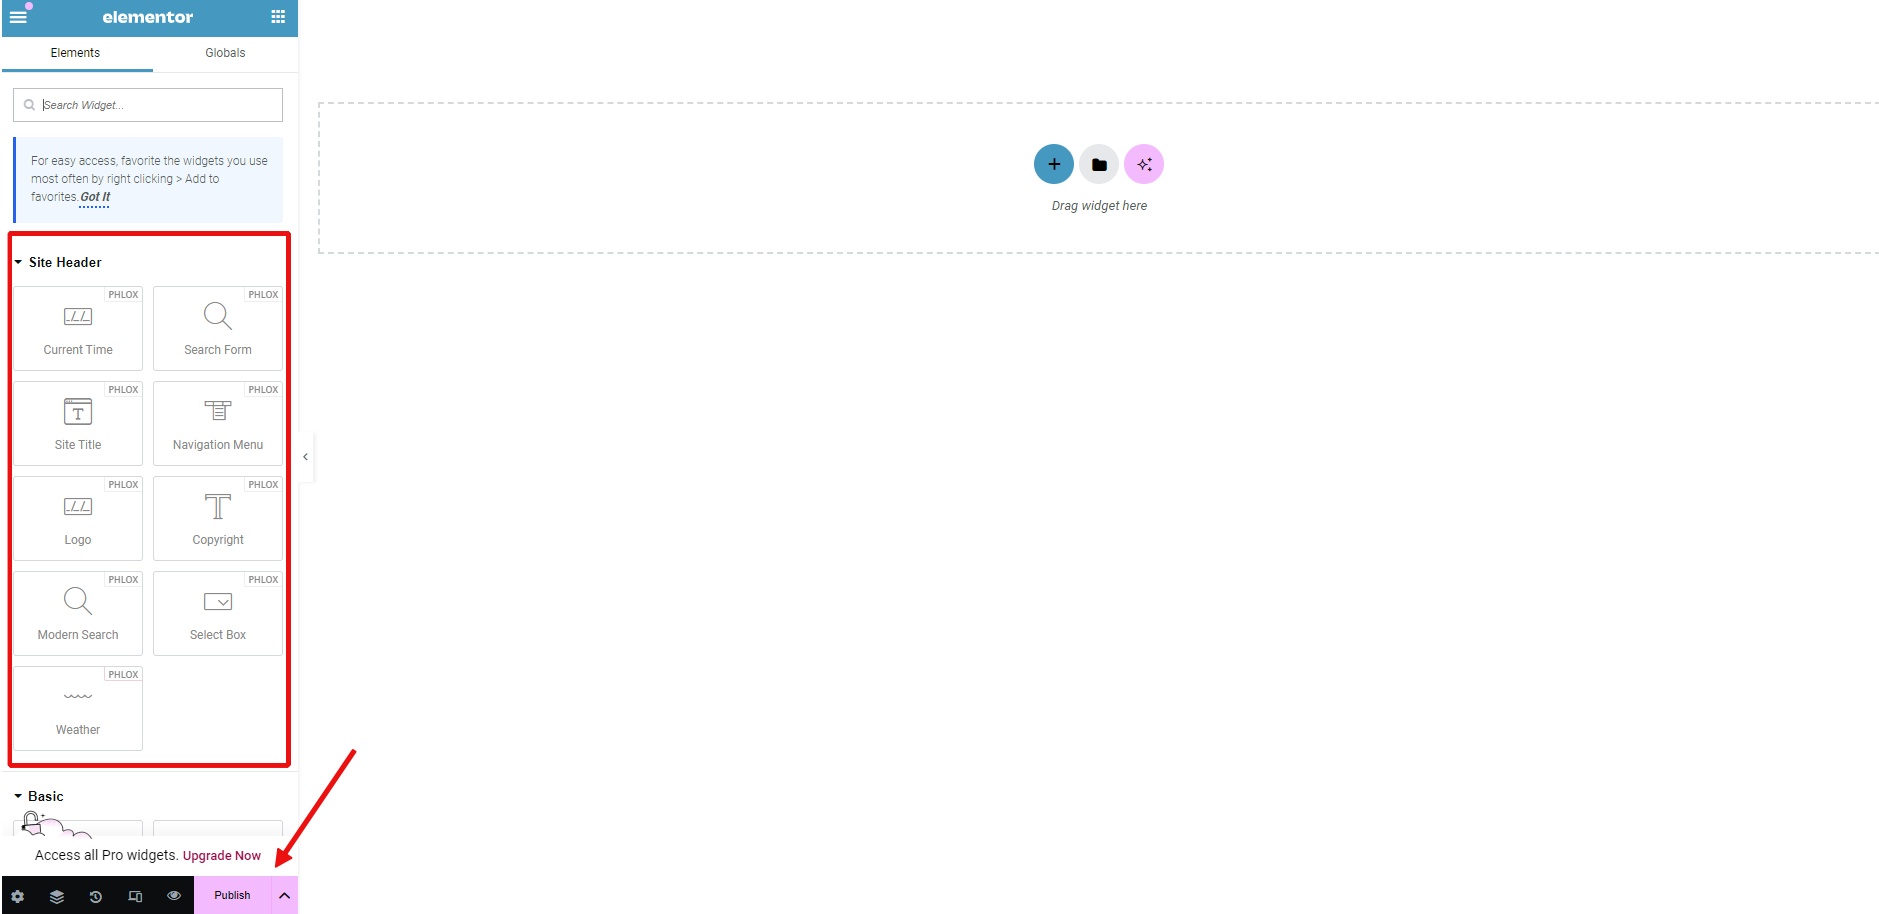
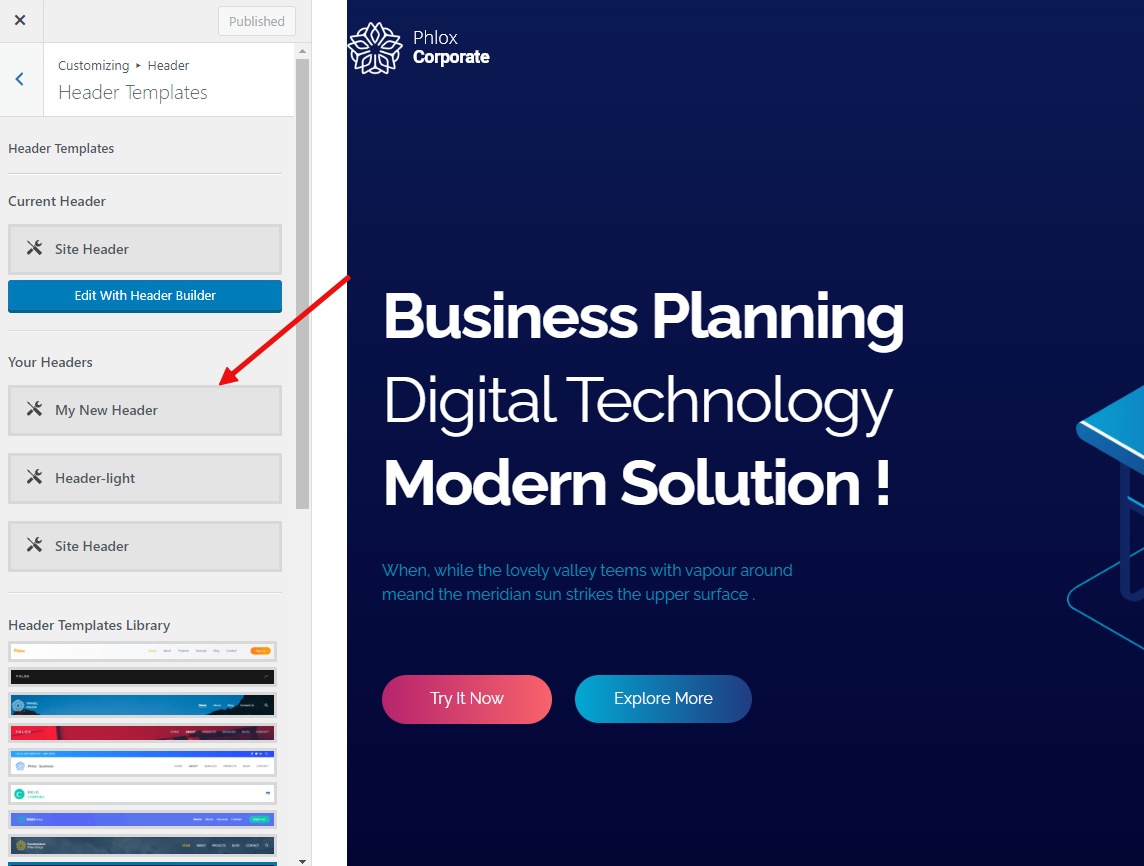
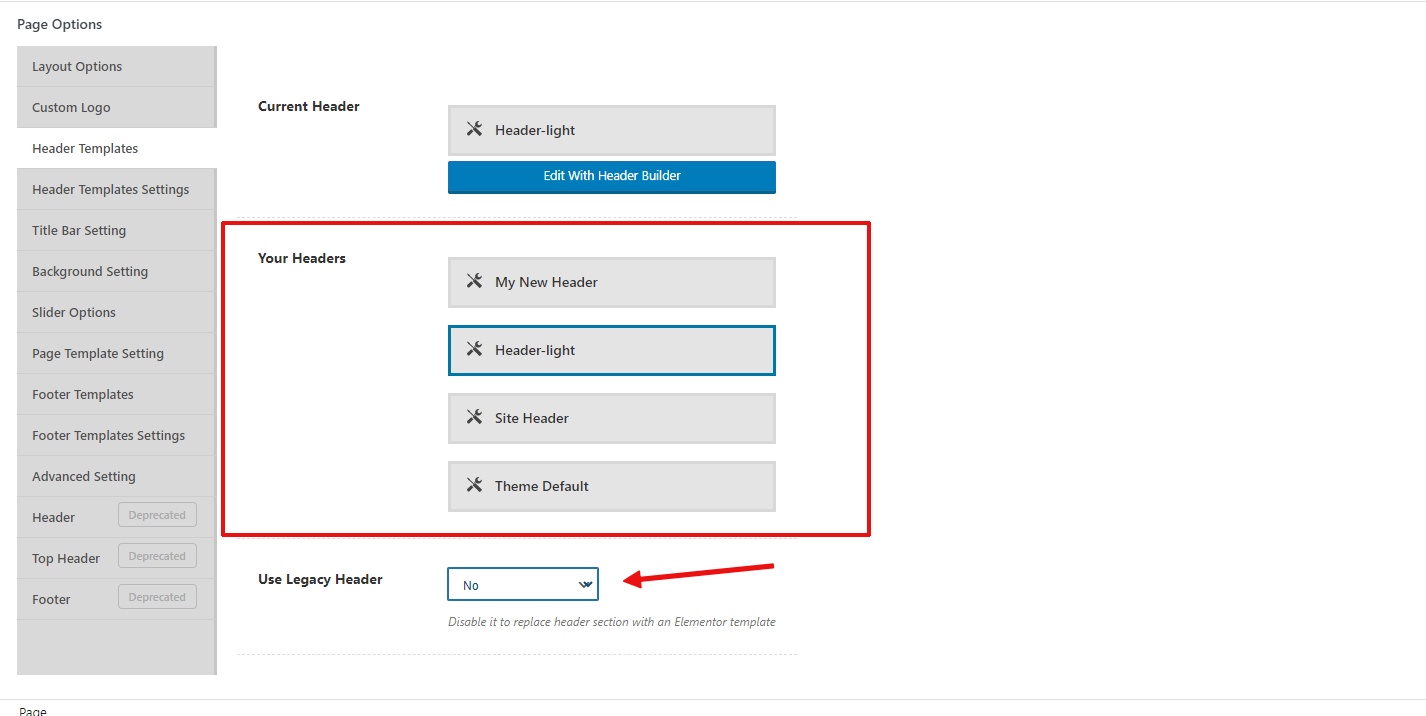
Phlox is one of the most flexible WordPress themes out there, and it’s especially popular among creative professionals. It’s fully integrated with Elementor, which means you can drag and drop every part of your design without coding.
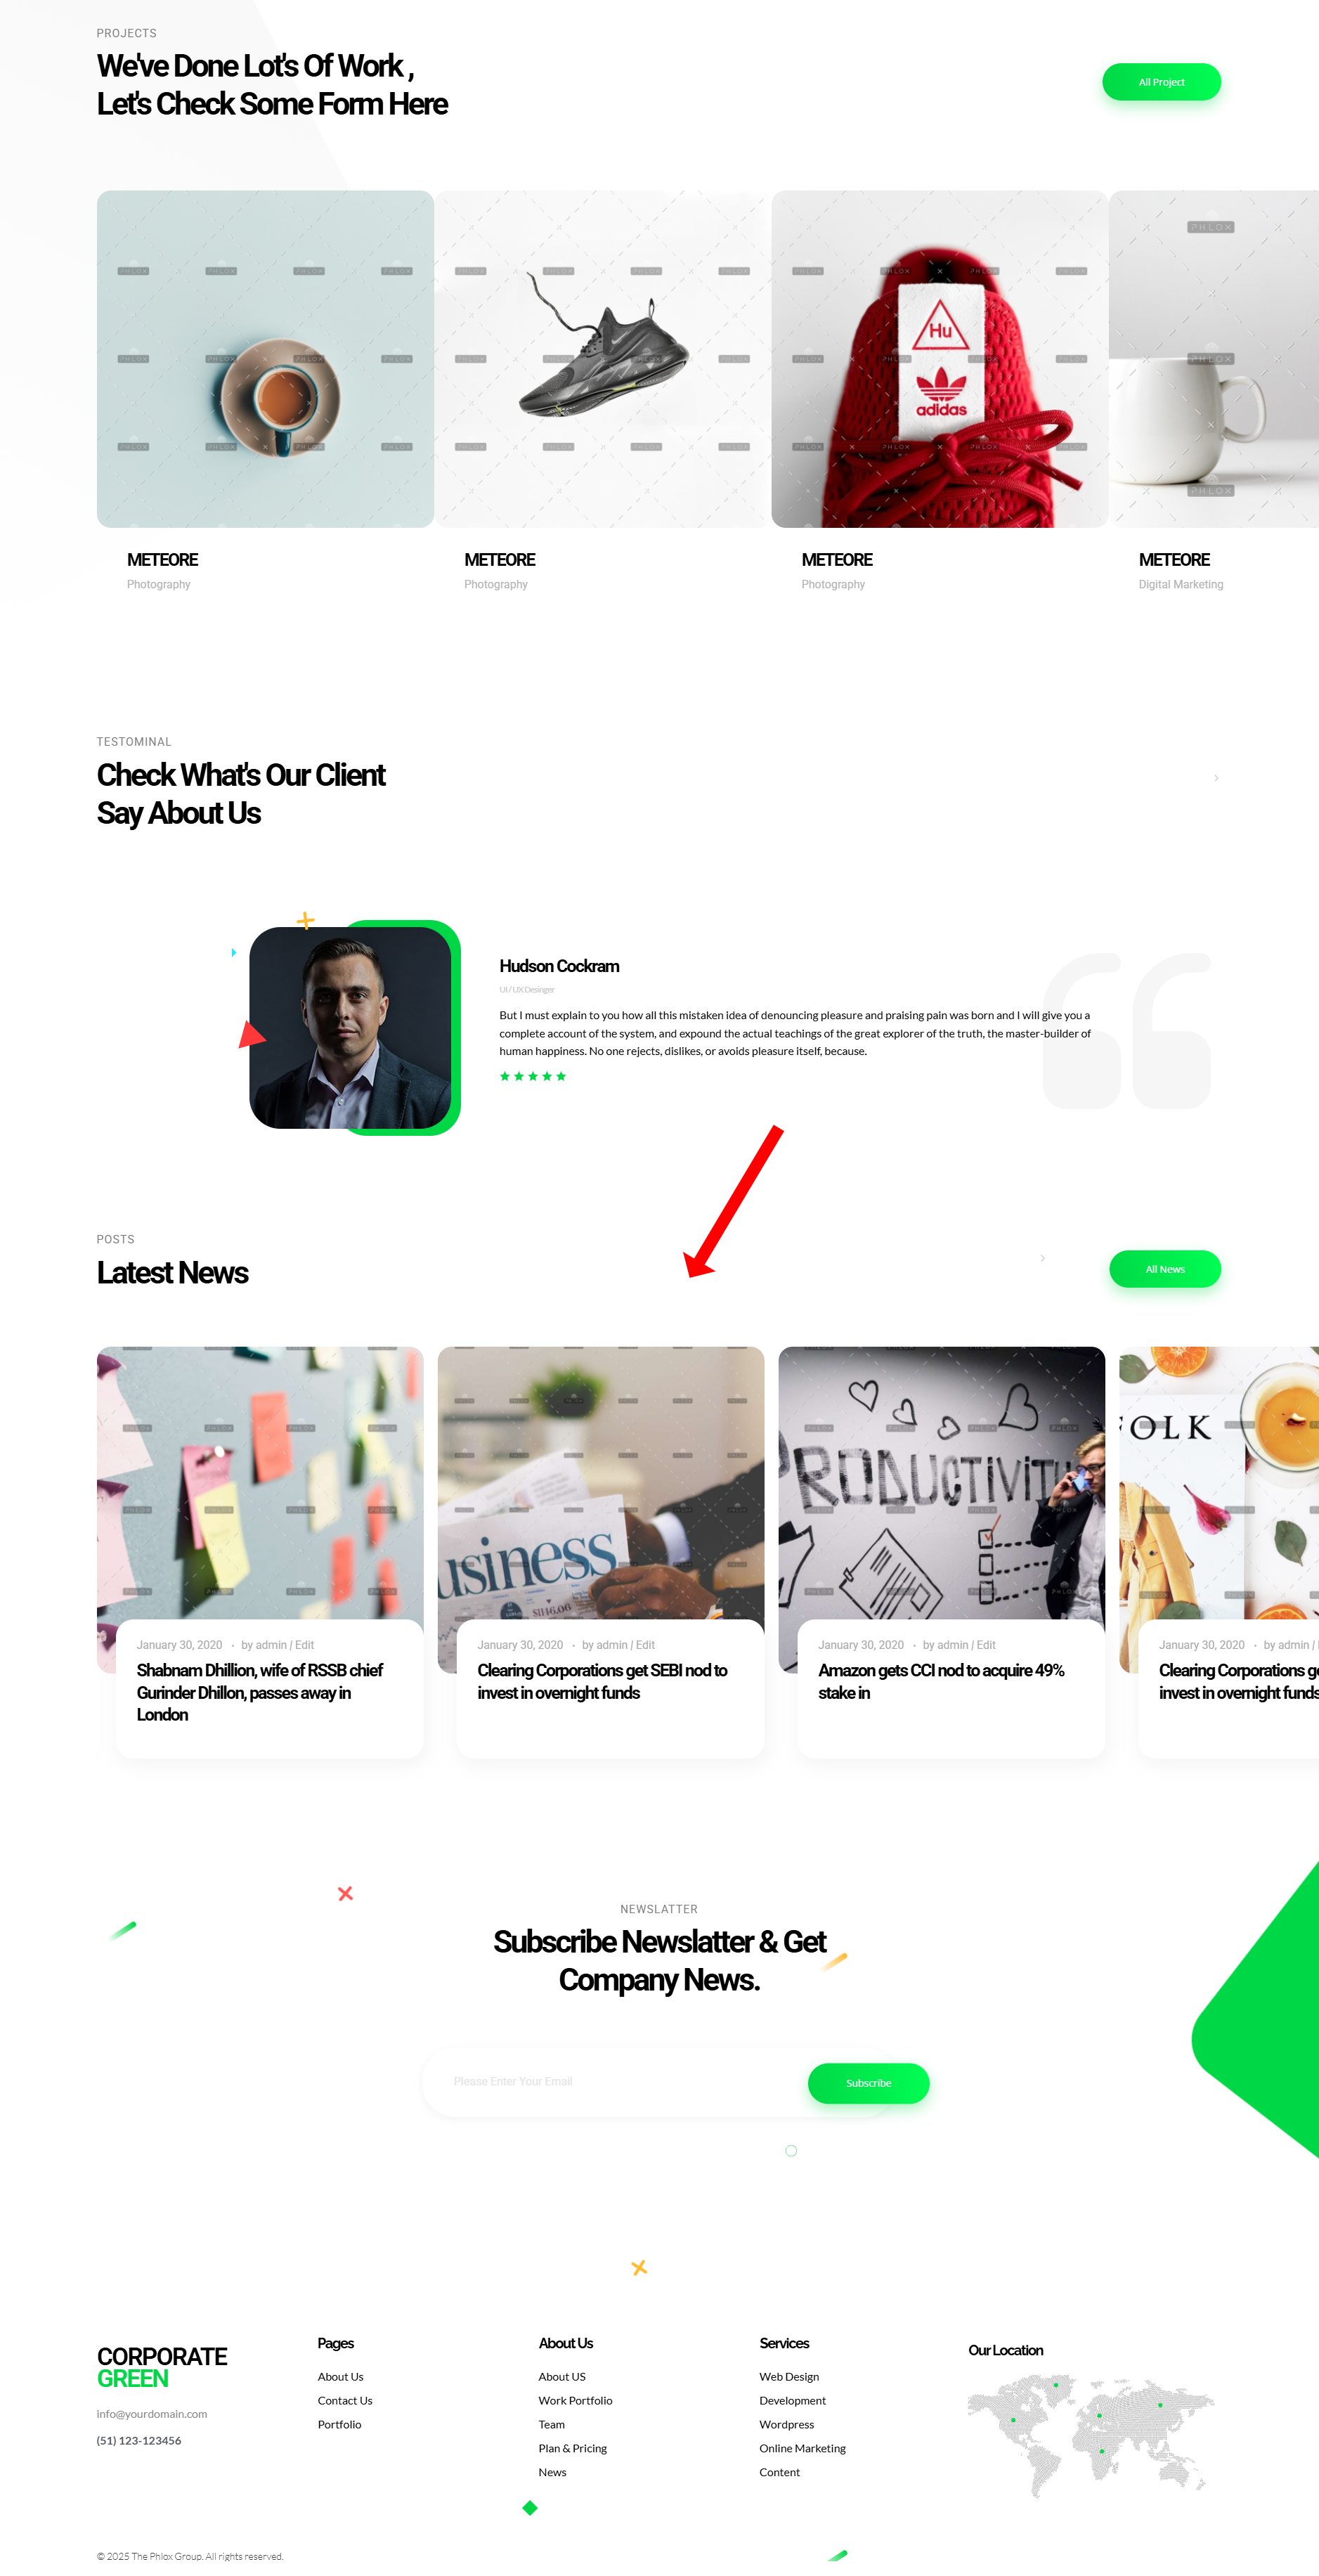
For photographers, Phlox offers multiple ready-made templates designed specifically for showcasing visual work. Some examples include:
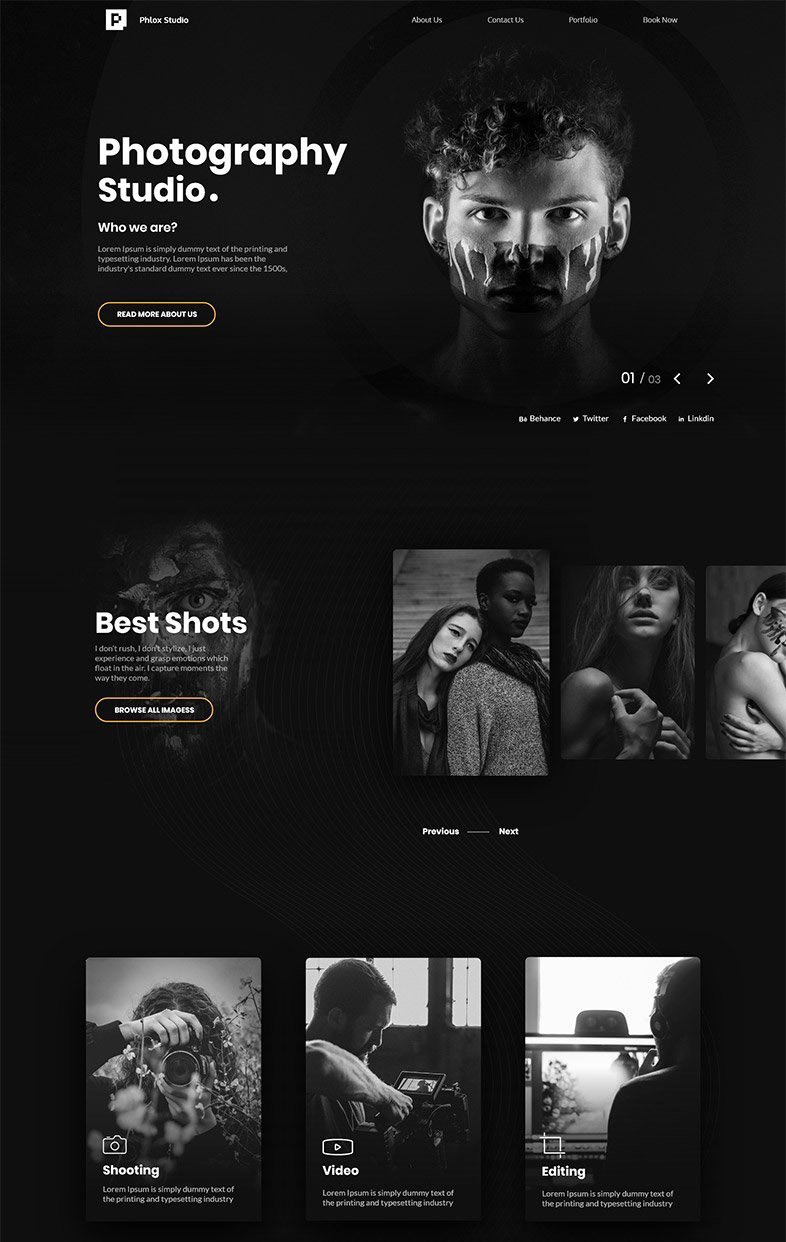
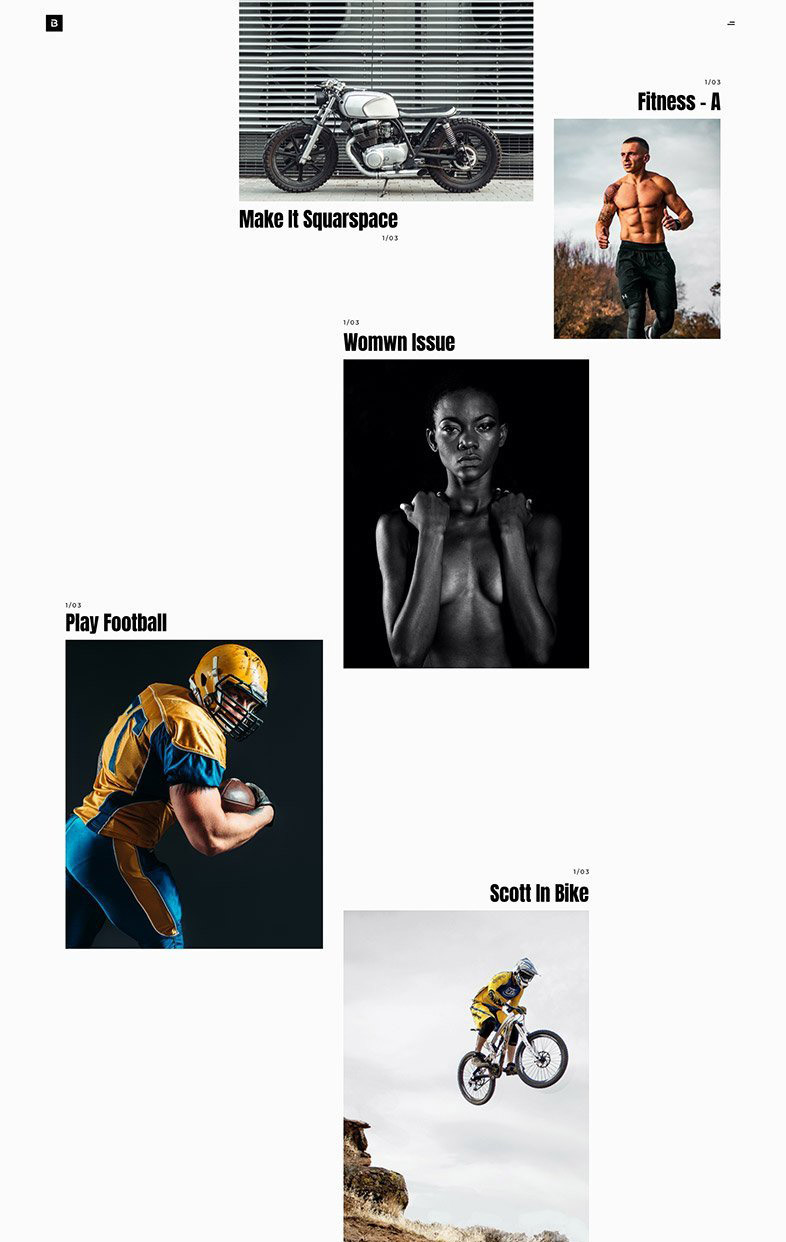
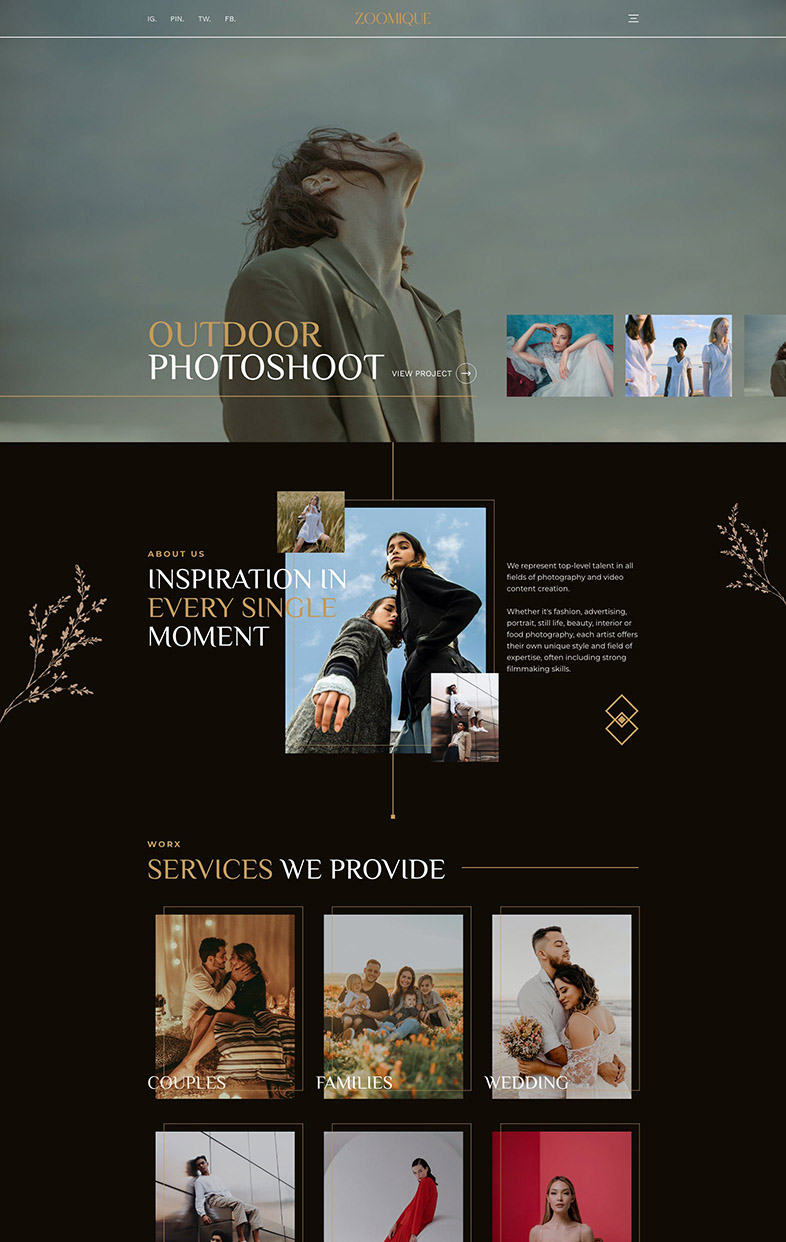
Why photographers love Phlox:
- Dozens of ready-to-import demos.
- 1-click import
- Easy Customization
- Fast and SEO-friendly.
- Built with performance in mind.
- Full control over layouts, fonts, and colors.
If you’re looking for a professional yet flexible solution, Phlox should be your first choice.
2. Astra
Astra is one of the most popular WordPress themes, and the free version already includes starter templates for creatives. It’s lightweight, fast, and works perfectly with page builders. Photographers can use its simple layouts to create sleek portfolios that load quickly.
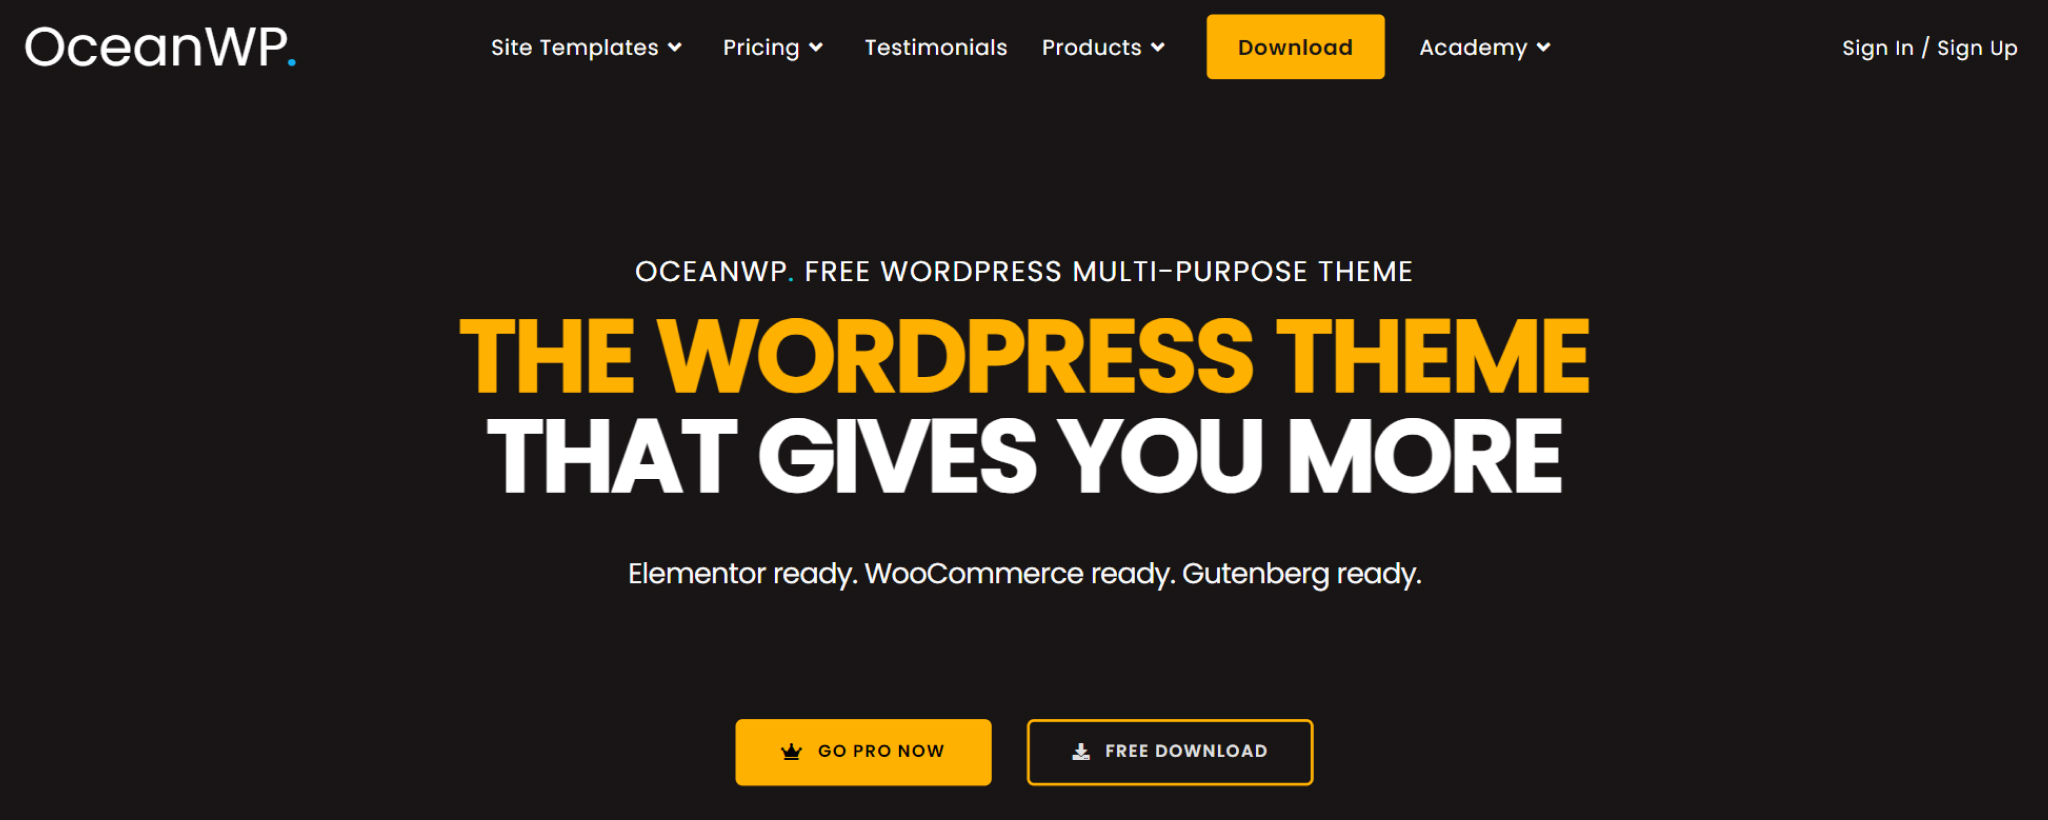
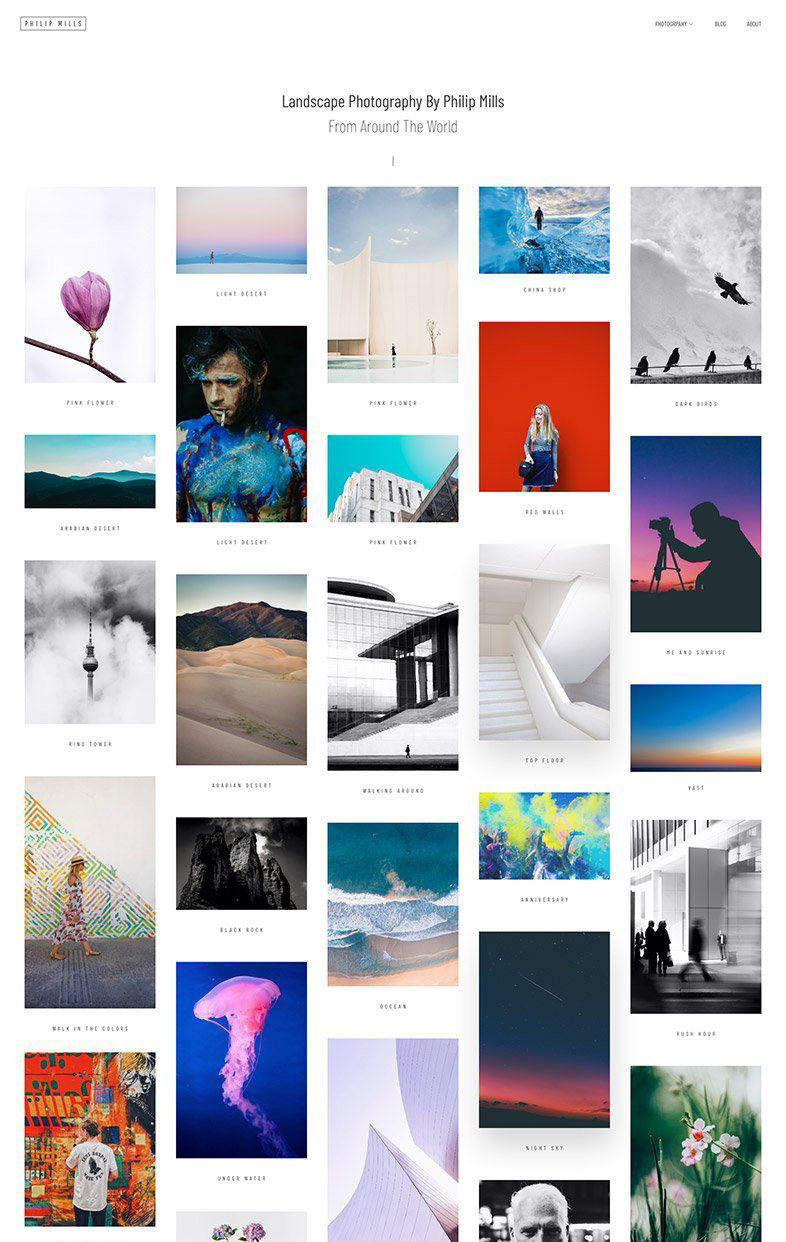
3. OceanWP
OceanWP is another powerful free theme with high customization options. Its clean and flexible design makes it suitable for building galleries and portfolios. It also integrates well with popular plugins, so you can add advanced features as your site grows.
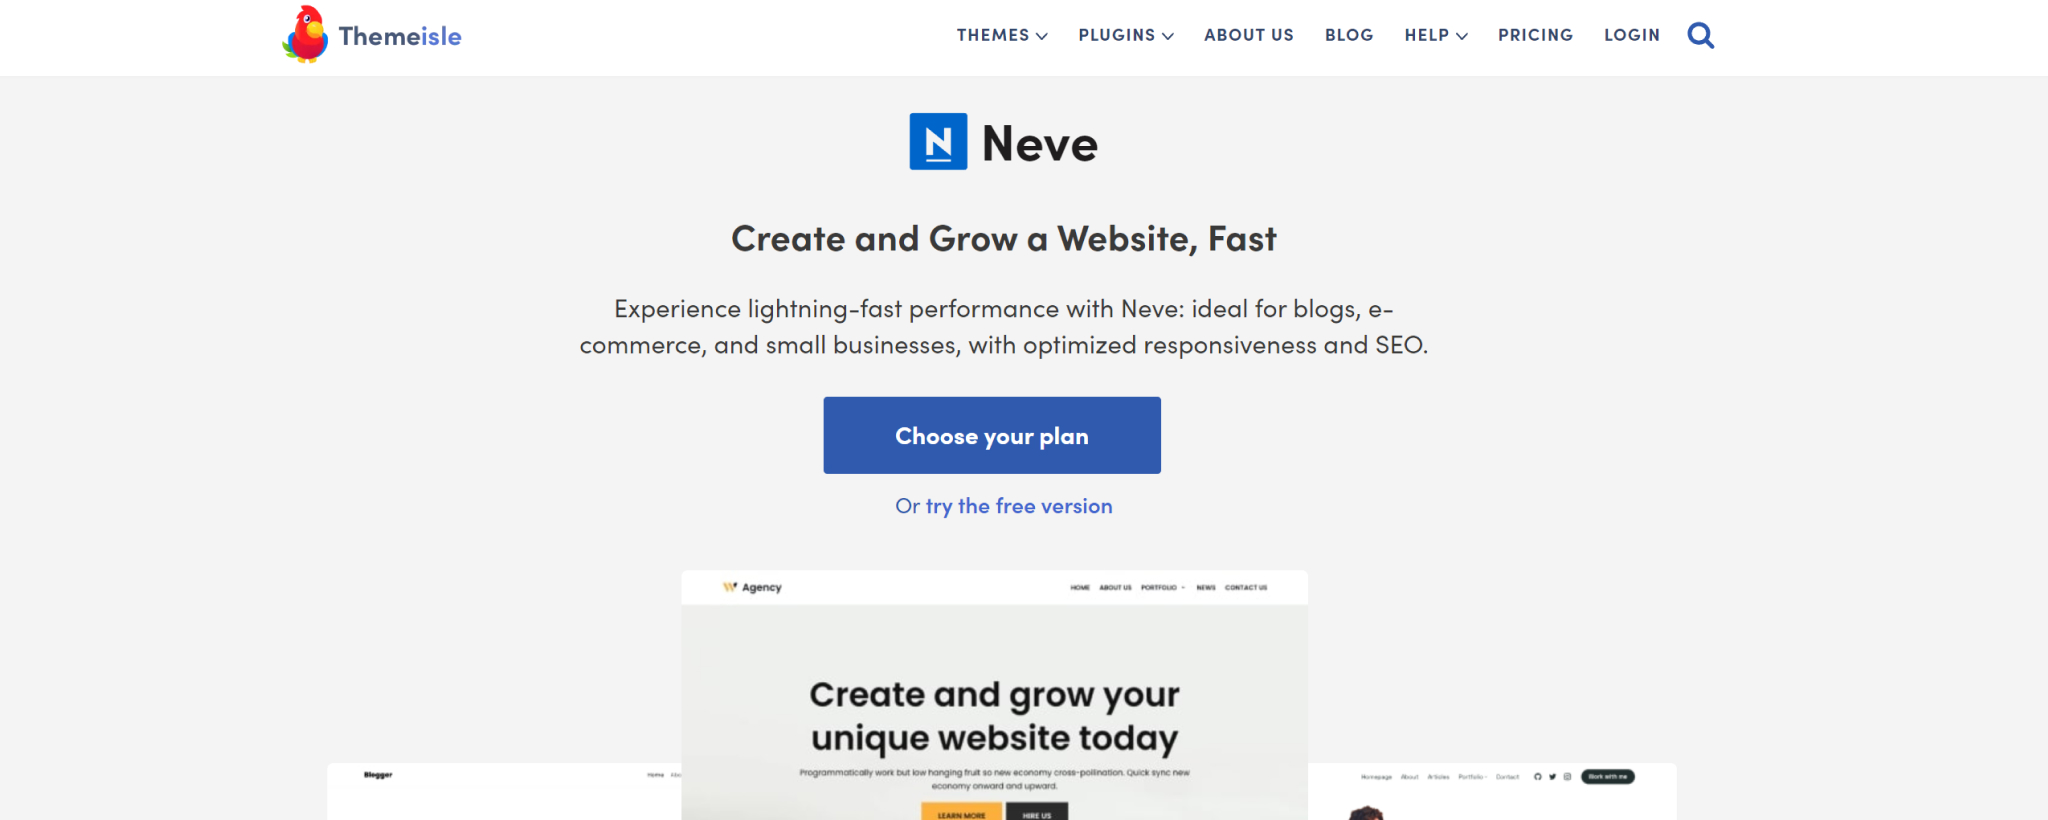
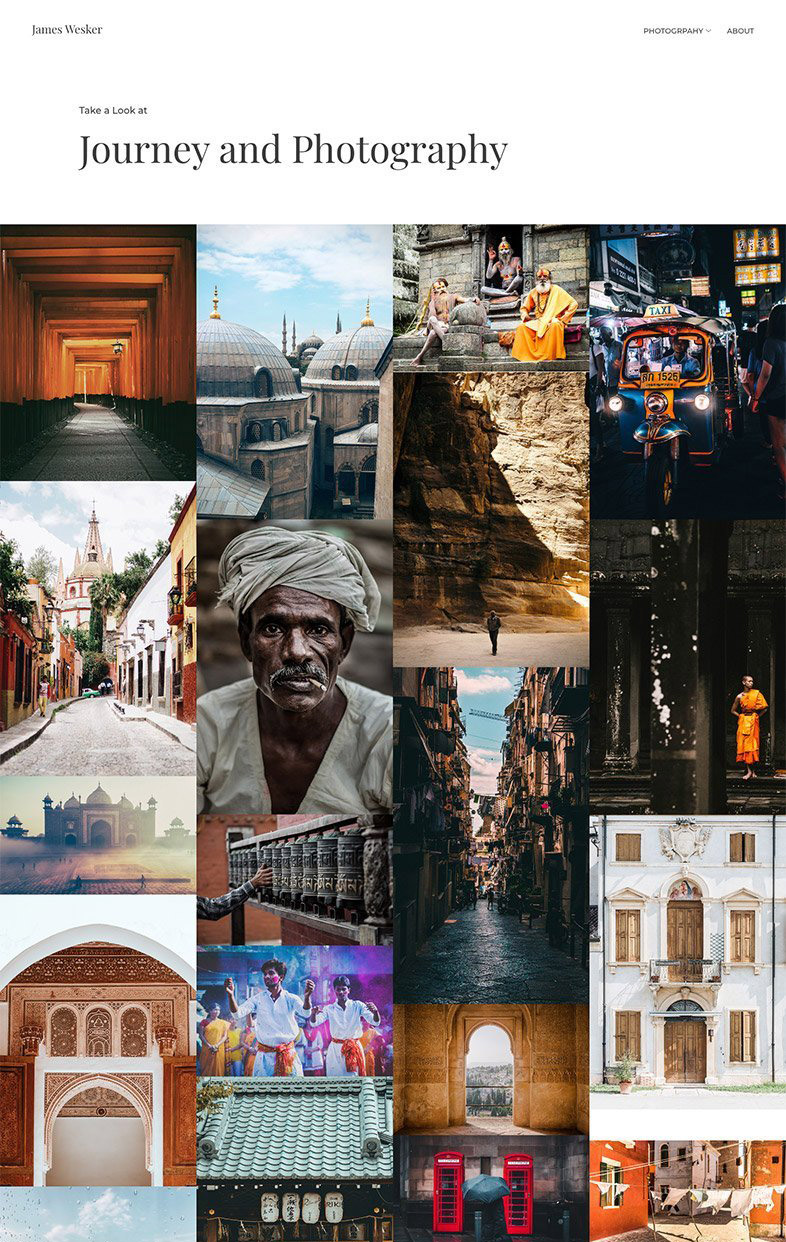
4. Neve
Neve is a modern WordPress theme with many starter sites, including ones that are perfect for photographers. Its one-page style demos are especially useful if you want a simple portfolio site without too many pages. It’s also highly responsive, so your photos look great on any device.
5. Zakra
Zakra is a free theme that comes with multiple demos, including creative layouts for photographers. It’s user-friendly, works with major page builders, and is easy to customize even for beginners.
6. Photography by VW Themes
If you want a free WordPress theme that is built specifically for photography, this one is worth checking out. It includes a full-screen slider, gallery sections, and portfolio layouts that help you showcase your images beautifully.
Bonus: Depicter – A Must-Have Plugin for Photographers
Choosing the right theme is important, but adding extra visual impact can take your website to the next level. That’s where Depicter comes in.
Depicter is a powerful slider and content presentation plugin. For photographers, it’s perfect to:
- Create stunning image sliders.
- Build interactive photo carousels.
- Add animations and transitions to tell a story.
- Ensure all visuals look great on mobile devices.
With its drag-and-drop editor, you don’t need design or coding skills. You simply pick a template and start building beautiful slideshows in minutes.
Final Thoughts
Building a photography website doesn’t have to be complicated. With the right photography website templates, you can launch a professional-looking portfolio in just a few clicks.
If you want flexibility, creative freedom, and dedicated photography demos, start with Phlox Theme. Combine it with Depicter for advanced galleries and animations, and you’ll have a photography site that truly stands out.